
Remove Bats
How To Remove Bats From Attics
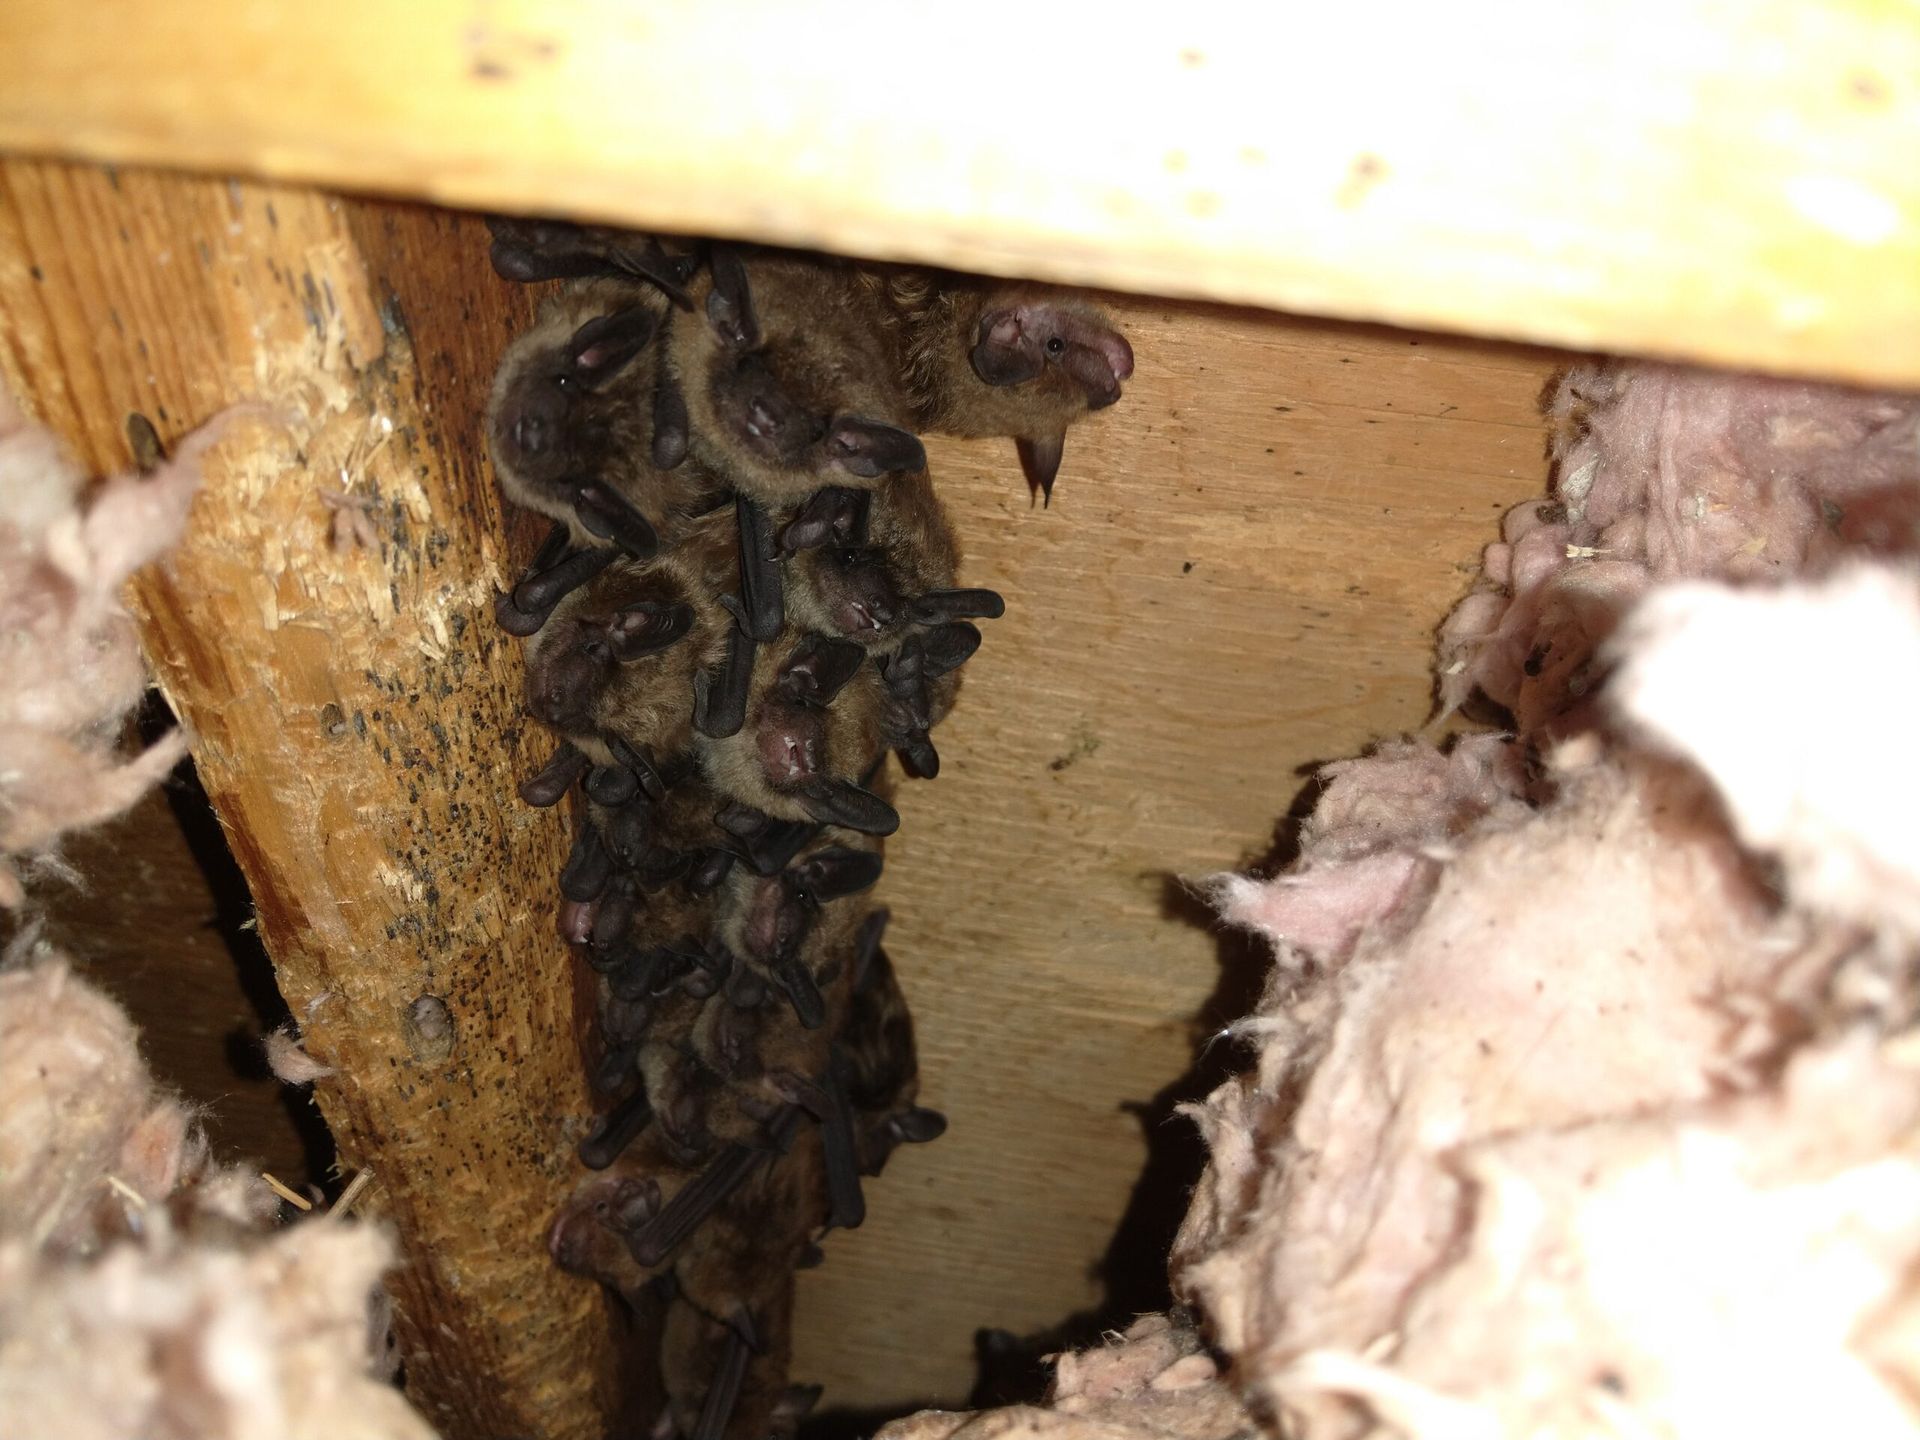
Removing bats from an attic requires careful planning and execution, as bats are protected species in many areas due to their ecological importance. Here’s a comprehensive guide on how to remove bats from your attic safely and humanely:
Step-by-Step Guide to Remove Bats from Your Attic
1. Identify Bat Presence
Signs of Bats:
- Droppings: Small, dark pellets usually found near entry points and roosting areas.
- Noise: Squeaking or scratching sounds, especially at dusk and dawn.
- Odor: A strong ammonia smell from accumulated droppings and urine.
2. Determine Bat Species and Legal Considerations
Species Identification:
- Identify the species of bat to understand their habits and legal protections.
Legal Protections:
- Bats are protected in many areas. Consult local wildlife authorities or pest control experts to ensure compliance with local laws, especially concerning bat removal during maternity season when young bats cannot fly.
3. Inspect and Identify Entry Points
Inspection:
- Carefully inspect the attic and the exterior of your home at dusk when bats are active to find entry and exit points. Look for gaps, cracks, or openings in the roof, eaves, vents, and soffits.
4. Seal Entry Points (Excluding Main Exit Points)
Exclusion Preparation:
- Seal all potential entry points except the primary exit points. Use materials like caulk, mesh, or expandable foam to close gaps.
5. Install One-Way Exclusion Devices
One-Way Devices:
- Install one-way exclusion devices over the main exit points. These allow bats to leave but prevent them from re-entering. Common devices include netting, tubes, or cones designed specifically for bat exclusion.
6. Monitor and Wait
Monitoring:
- Allow several days to a week for all bats to exit through the one-way devices. Observe at dusk to ensure bats are leaving.
Confirming Empty Attic:
- Once you’re certain all bats have exited, conduct a thorough inspection to confirm no bats remain inside.
7. Seal Remaining Entry Points
Final Sealing:
- After confirming that the bats have vacated, seal the remaining entry points permanently. Ensure all gaps are tightly closed to prevent re-entry.
8. Clean and Decontaminate
Cleaning:
- Wear protective gear (gloves, mask, goggles) and remove all bat droppings and nesting materials. Bat guano can pose health risks, so handle it with care.
Disinfection:
- Disinfect the area with a mixture of water and bleach (1:10 ratio) to kill any pathogens and reduce odors.
9. Prevent Future Infestations
Preventive Measures:
- Install bat houses away from your home to provide alternative roosting sites.
- Regularly inspect and maintain your home’s exterior to keep it sealed and secure.
- Ensure attics and other potential roosting areas are well-lit and ventilated, as bats prefer dark, secluded spaces.
Additional Considerations
Professional Help:
- If you’re unsure about the process or face a large infestation, consider hiring a professional wildlife control service. Experts can handle the situation efficiently and ensure compliance with local wildlife protection laws.
Safety Precautions:
- Never handle bats directly, as they can carry diseases like rabies. Use gloves and avoid direct contact.
- Ensure all work is done in a manner that prioritizes both human safety and bat conservation.
By following these steps, you can remove bats from your attic humanely and effectively, preventing future infestations and ensuring the safety of your home and the bats.

600 Cleveland Street
suite 374